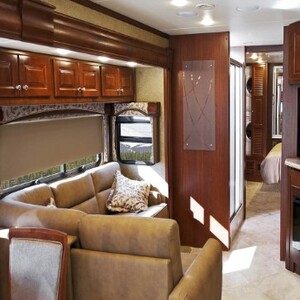
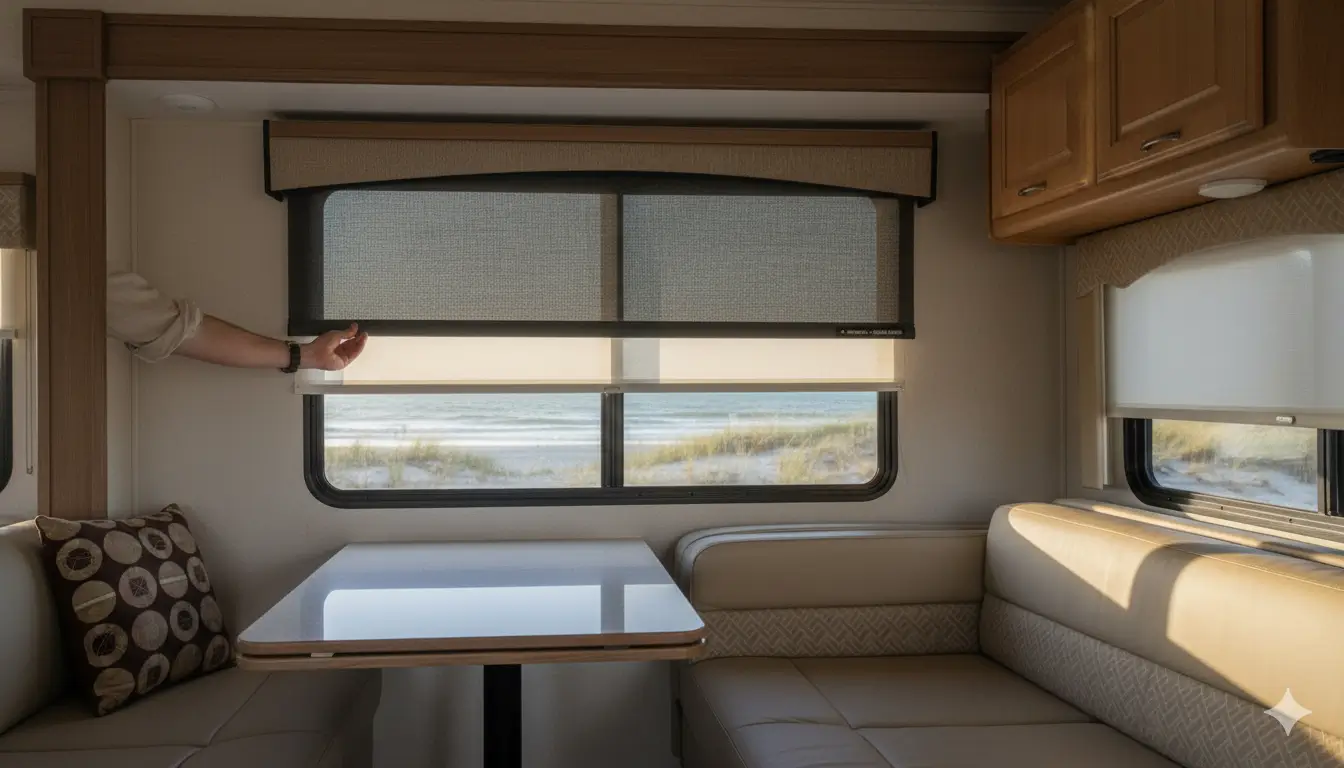
Is your RV’s window too wide to be covered with a single roller blind and you need to link multiple blinds so they appear a single window covering? Or you want to connect the roller blinds of 2 or more adjacent windows, so they can be operated as a single unit? If yes, go ahead with your plan and we’re here to help you with easy, practical tips for better functionality and look.
Joining multiple roller blinds in your RV can significantly improve the aesthetic, uniformity, functionality, and convenience of your RV window treatments.
7 Reasons You Need to Link Roller Blinds in Your RV
- Raising or lowering each blind on many (say 6 or 7) windows can be both time consuming and frustrating.
- Inevitable gaps between two roller blinds will let light seep through and allow people on the road to peep in, spoiling your sleep and privacy.
- The width of your RV window crosses the mark of 120”, making it extremely difficult to cover it with a single window.
- The edges of the independently rolling blinds, sliding across in opposite directions, may get frayed, negatively affecting their potential to block the sun.
- The bottom rails of your adjacent roller blinds collide and rattle due to wind or when you try to speed up your travel trailer on the road.
- Your RV roller blinds are made of lightweight sheer fabrics, which flap in the wind and cause lots of external light flooding in.
- You want to give all the blinds on the side (left or right) of your motorhome a cohesive look.
7 Tips and Tricks to Link Join Roller Blinds in Your RV for Better Functionality & Aesthetic
1. Sew the Sides of Roller Blinds Together – An Easy, Instant DIY Solution
- Step 1: Take a needle and thread it.
- Step 2: Remove caps from the ends of the headrails, facing each other, and join them without a gap of a millimeter between them.
- Step 3: Align the bottom rails to avoid crookedness.
- Step 4: Stretch the fabrics of two shades so closer to each other that they create an overlap of at least half an inch.
- Step 5: Sew the two fabrics so tightly that they look like a single panel.
- Step 6: Test operation. If the roll up isn’t smooth, it would be due to misalignment at the time of sewing. Unsew the fabric, realign it and resew.
Design Tip
Match the color of the thread with that of the fabric. It will make the linked roller blinds look like one, as if they were manufactured as a single window covering. It will help you achieve a better room darkening effect in your RV.
2. Join Blinds with a Coupling Rod – An Option to Assist Simultaneous Operation
- Step 1: Take a coupling rod with a hollow cavity, measuring half of the length of the control chain loop.
- Step 2: Unlink the control chains of the blinds (installed next to each other) at their lower ends, pass the free ends through the cavity in the coupling rod, and relink them.
- Step 3: Enjoy raising, lowering, or positioning two roller blinds simultaneously! Make readjustments, if needed.
3. Use Linked Joining Brackets – Reduce Gaps between Two Roller Blinds
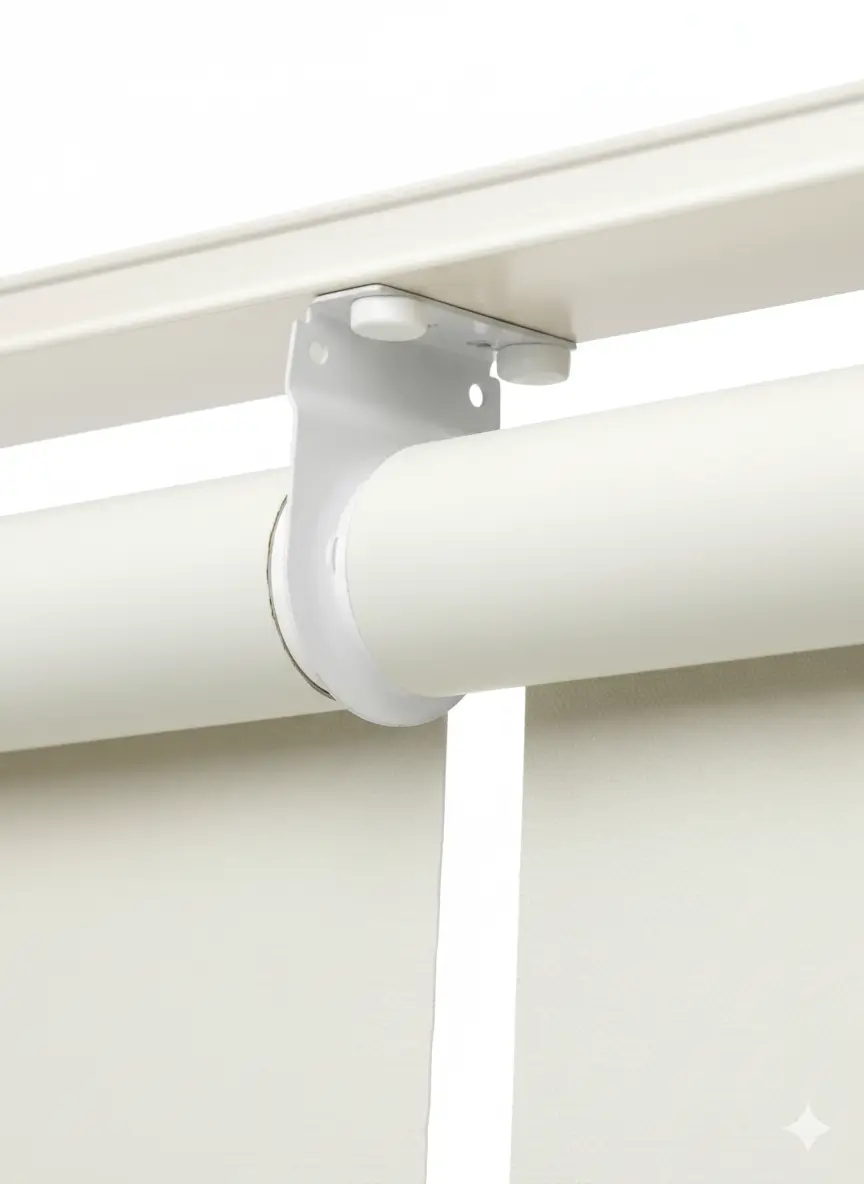
If you have fitted two roller blinds side by side within the same RV window, a gap of 2 to 3cm between the fabrics will be inevitable. Roller blind linking bracket brackets will help you eliminate that gap to achieve better coverage and a professional finish.
- Step 1: Install the joining brackets in 90-degree alignment at a distance of 3 inches.
- Step 2: Attach the fabrics from both the blinds to the brackets.
Note
- Some linked joining brackets can still have a gap of 0.5cm or more. So, when purchasing new brackets, ask the seller if they’ll totally eliminate the gap between the fabrics.
- We recommend brackets measuring 4.5cm (base plate depth) x 6.5cm (length).
- If you fear damaging the fabrics when attaching them to the blinds, it’s a good idea to seek expert assistance.
4. Join Fabrics Using Safety Pins – Most Inexpensive, Easily Reversible Solution
Use of ordinary safety pins is an easy, cost-effective, and damage-free option to join two or more roller binds in your recreational vehicle. These pins can be easily removed when you need to roll up the blind, without leaving any needle holes in the fabric. For best lightproof linkage, install the pins only one inch apart. It means, if the height of the fabric is 48 inches, you will need 48 pins.
Don’t have safety pins in your RV trailer? Use paper pins instead. Also you can staple them, but removing staples could damage the fabric.
Aesthetic Tip
Fully roller down the fabric, fold about 1-inch fabric of each blind backward. Attach safety pins to the backward folded fabric, so they won’t be visible to travellers.
5. Just Glue Up Roller Blinds Fabrics – A Simple, Effective Idea
- Step 1: Draw the headrails so close that they touch each other.
- Step 2: Link the internal hardware of the connected headrails for a coordinated roll up operation.
- Step 3: Then glue up all the roller blinds one by one at their sides that are closer to each other.
Note: Use a strong adhesive that dries up instantly. It will make all the fabrics look like a single piece.
6. Detachable Male/Female Hooks
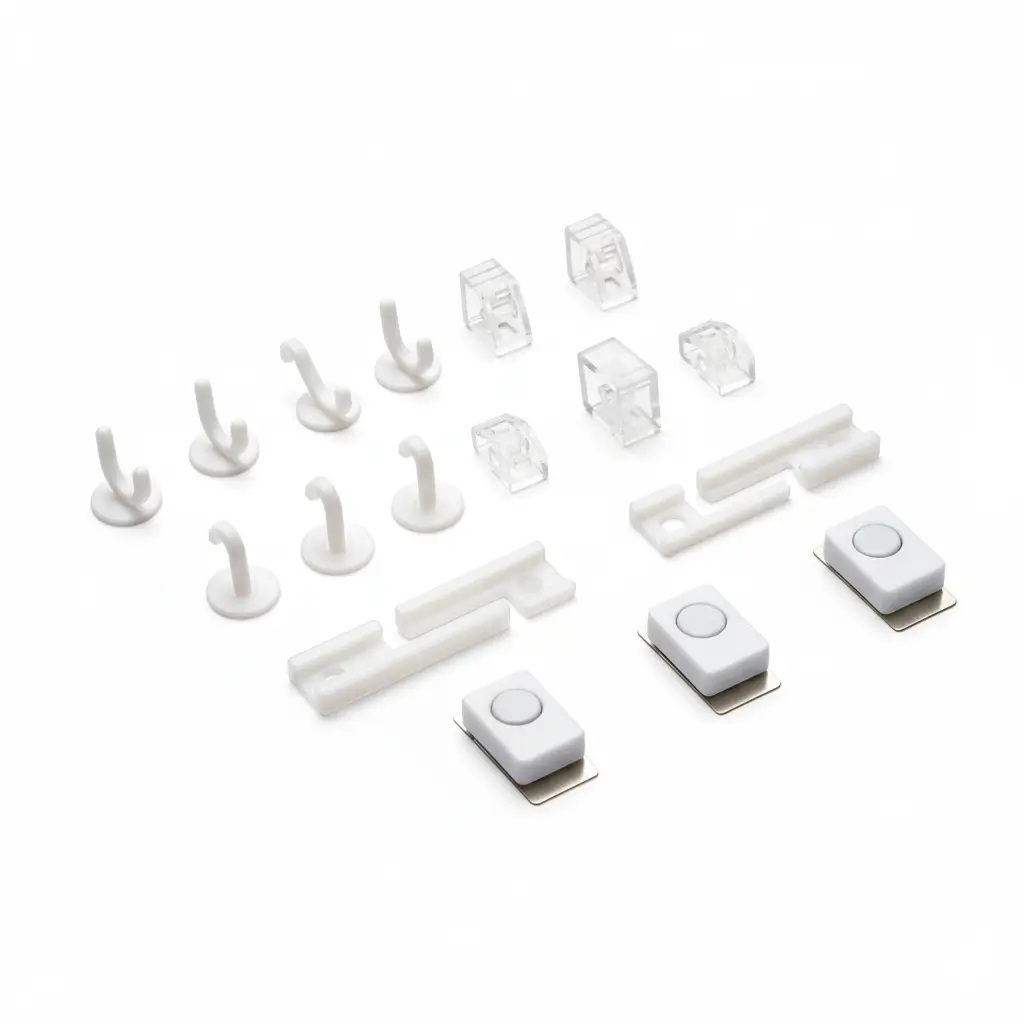
Sew male components of the hooks to the fabric edge of the blind to the left and the female parts along the edge of the blind to the right.
Perfectly align the hooks on the opposite blinds, so they fit each other without causing a wrinkle or folding of the fabric.
Make sure the hooks are not more than 5 inches apart. If you stick them closer – say 1.5 or 2 inches apart – you’ll get the best light coverage & privacy.
7. Consider a Headrail for the Entire Length of Your RV – A One-Time Permanent Solution
As there are several methods (such as stitching, sticking, stapling) to join the fabrics of all roller blinds into a single sheet, attaching them to a single extra-long headrail will serve as a long-term solution. If the existing headrails of individual blinds can be welded, it will be very cost effective. Otherwise, remove all of them and replace them with a single headrail that runs the entire length of your mobile home, stretching across all the windows.
Cons of Using a Single Extra-Long Headrail
- Joining all the roller blinds on the entire – 30 to 40 feet – length of the RV will significantly add to the weight of the fabric, posing an operational challenge.
- It will only allow an outside mount, occupying more space in your vehicle.
- Light and heat leakage at the sides.
Solution
- For operational feasibility, our experts highly recommend a motorization add-on with a wireless remote control.
- For better coverage and insulation, extend the fabric by 3 to 4 inches to the sides (left and right) and the bottom.
FAQs
Can you join two roller blinds together?
Absolutely! There are two popular ways to join two roller blinds together: (1) independent joining brackets and (2) linked joining brackets. The brackets can be either top fixed or face fixed. In the case of independent joining brackets, you’ll need a separate roller chain to roll up/down each blind. The linked version will allow you to operate both the blinds with a single control chain.
How do linked roller blinds work?
Option 1: Roll up each blind independently using a separate roller mechanism. As the fabrics of all multiple blinds are linked, make sure you raise or lower simultaneously in a coordinated, synchronous motion.
Option 2: If the roller mechanisms of the blinds are also connected using joining brackets, you can use a single control chain or one motor to operate all the blinds together.
How to install blinds next to each other?
Follow these simple steps to install 3 or more blinds side by side in the same extra-wide RV window frame:
- Step 1: Put up right and left the snap-in brackets against each other and level them at 180-degree (to avoid uneven hanging and crooked roll up of the fabric).
- Step 2: Mount the center brackets, equalled spaced from each other and perfectly levelled.
- Step 3: Mount headrails parallel to each other without leaving the slightest gaps between them.
- Step 4: Install a common valance to conceal each of the headrails and brackets.
Practical Tip
Consider removing end caps of the headrails for 1 to 2-inch overlap of the conjoined fabric panels.
How to overlap roller blinds?
Option 1: You can overlap roller blinds in your RV by removing end caps on the headrails and shortening the roller tube at each end by 2.5cm (5 inches in total). This will help you create an overlap of 2.5 inches (6.35cm) on each side, eliminating all external light trying to seep in at the sides.
Option 2: Attach a 3-inch wide strip of fabric to each of the adjoining sides of the roller blinds. This type of overlap won’t require any changes in the mounting hardware.
Professional Advice
If you go with the first option, i.e., plan to make changes in the hardware, we recommend hiring the services of a professional expert.
Need More Help?
We are ready to further assist with joining roller blinds on your RV’s multiple adjacent windows for an easy coordinated operation. Contact our experts using 24/7 Live Chat or call (800) 490-5720 or email support@rvblinds.com today!